How to use rclone
There are two ways to use Rclone, here's the difference:
-
Purchase a mount
We can permanently mount an rclone-compatible volume to /storage/<whatever> on your apps. Use this if you want to access your rclone-compatible storage from your apps, long-term - for example, to play media from your Dropbox account in Plex.
-
Use tools to move data to/from rclone remotes
If you want perform the occasional move of data between storage volumes, you don't need your storage mounted permanently. You'll use one or more of the tools listed below, which have overlapping features:
RcloneUI
RcloneUI is the native UI provided by Rclone. It offers a beginner-friendly interface to configuring "configs" or "remotes" (what rclone calls your remote storage volumes). It allows simple drag/drop transfer of files to/from remotes, but lacks the ability to stop a transfer.
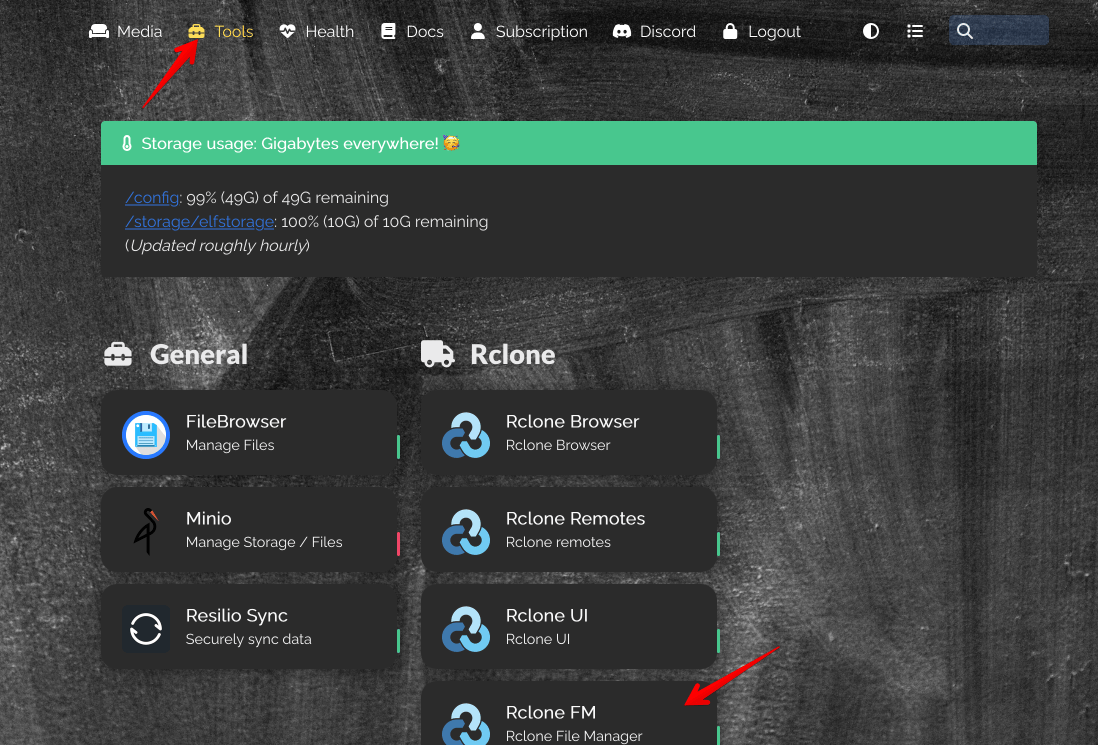
RcloneFM
Rclone FM ("File Manager") is an alternative rclone web UI. You can't use it to configure remotes (use RcloneUI for this), but you can use it for simple side-by-side filemanager-type operations.
Warning
Rclone FM maintains its own queue which you can manage (even deletes are queued), but be aware that this queue persists only in your browser tab, and closing the tab will cause you to loose the queue. The active transfer will still complete though.
Example transfer
Here's an example re how to transfer media from an S3 mount into a Storagebox
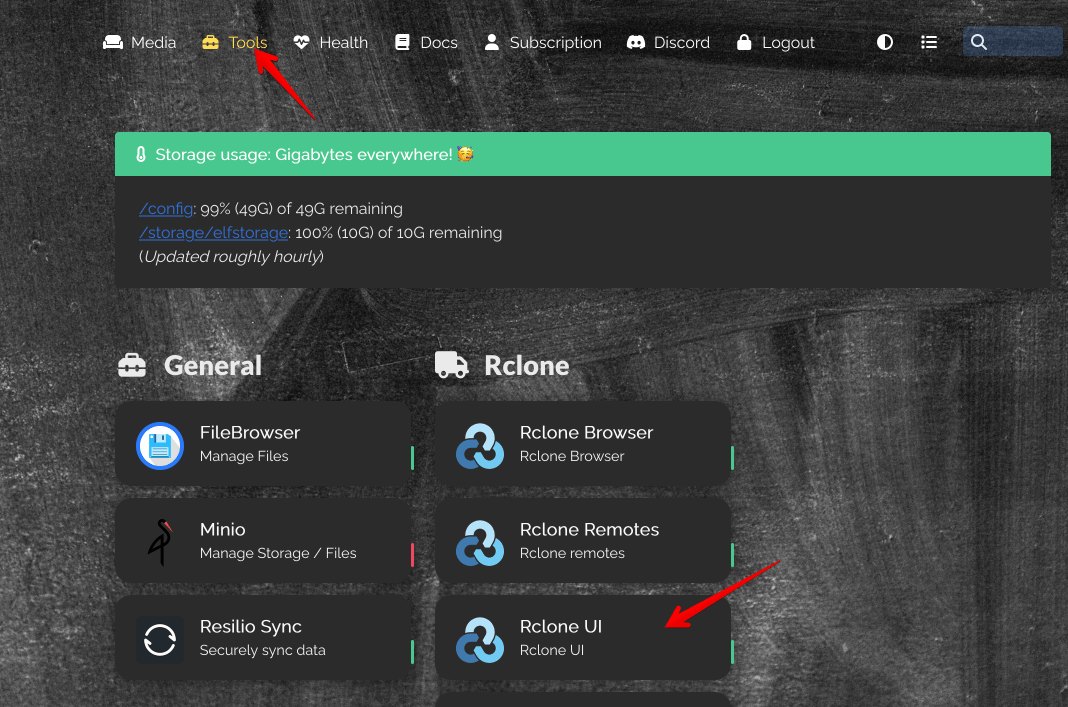
Setup remote (Rclone UI)
Launch RcloneUI from your dashboard, and login (any user/pass will work):
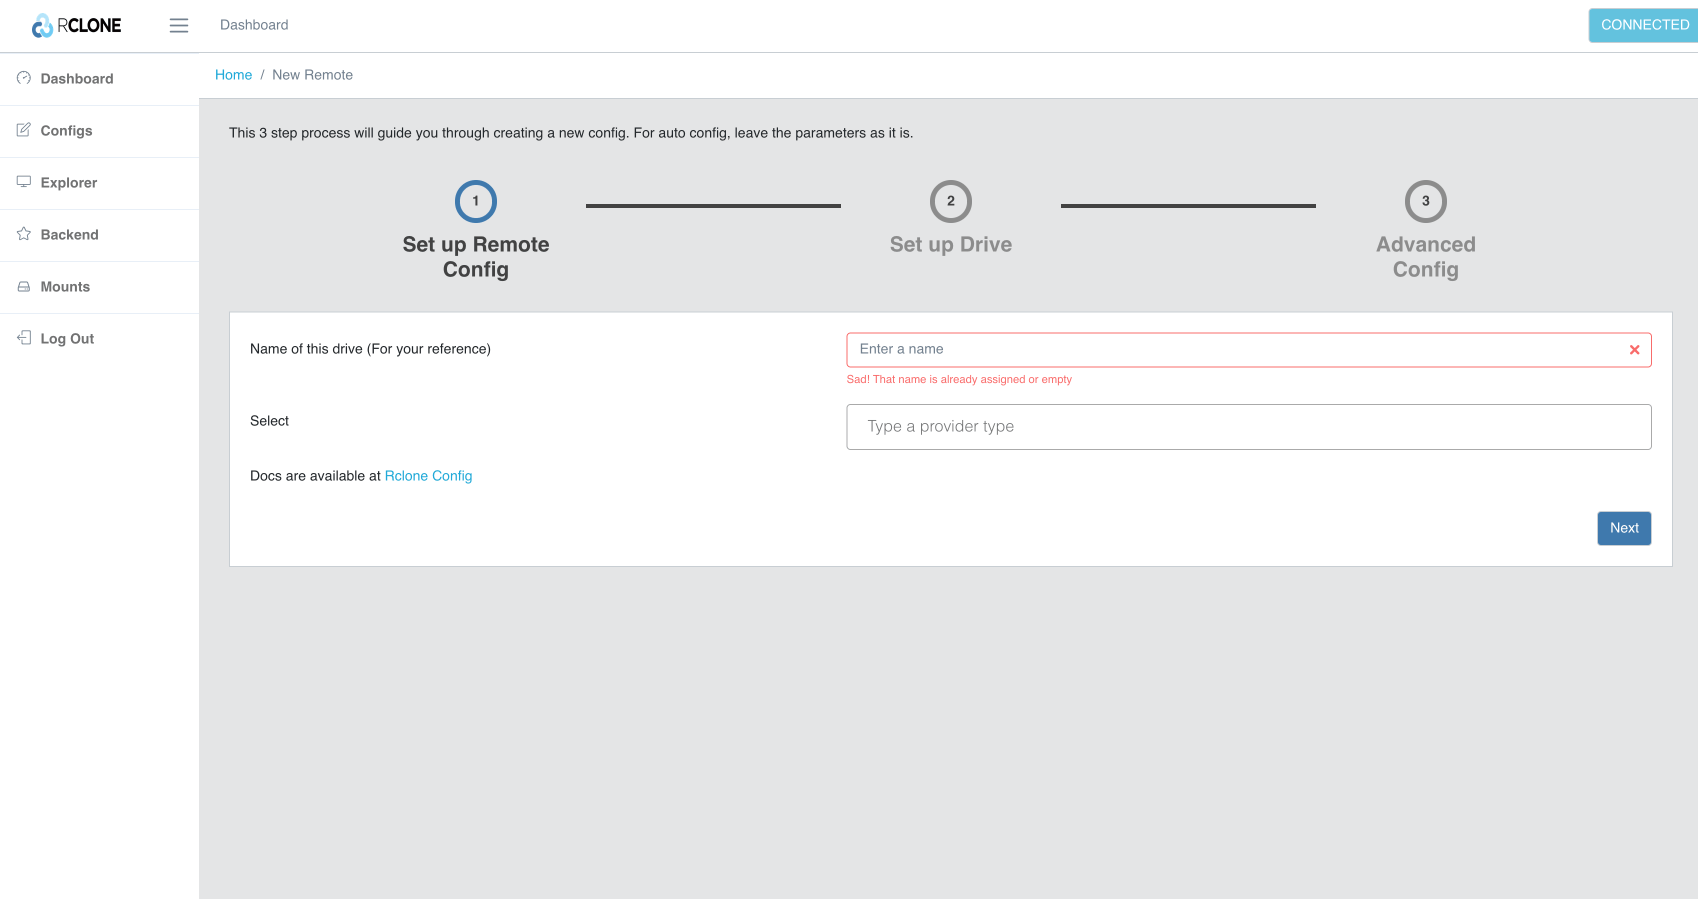
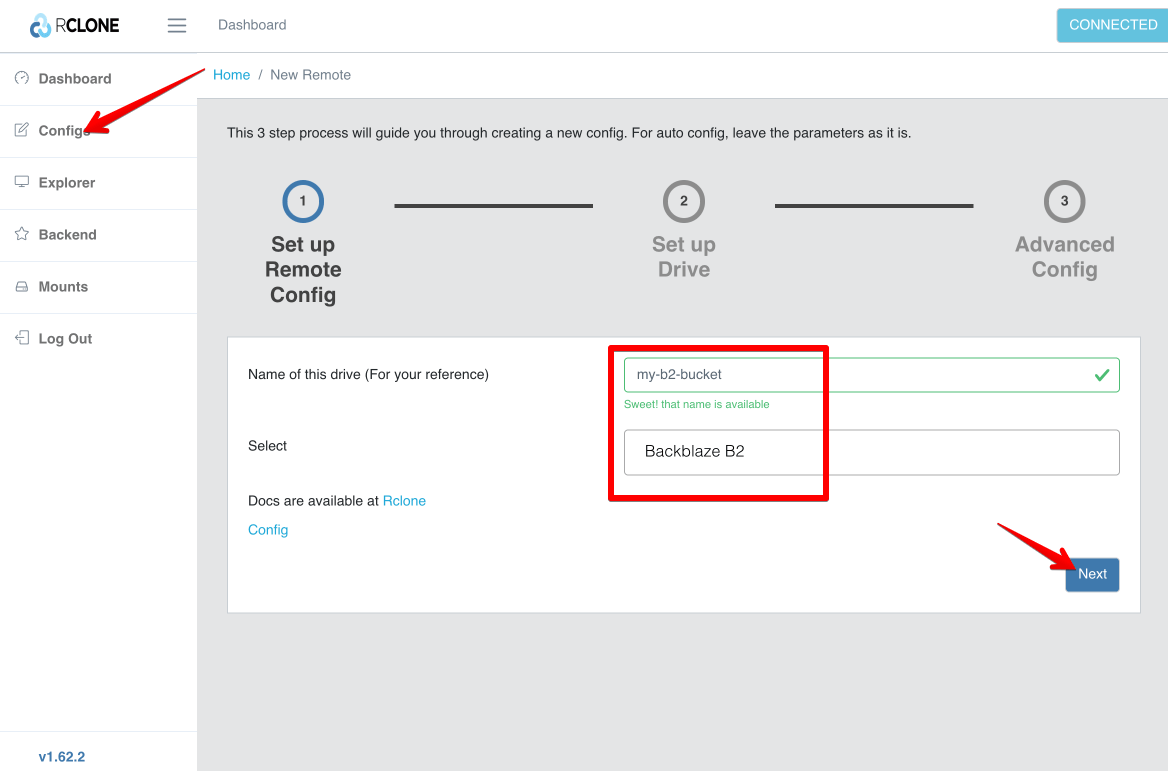
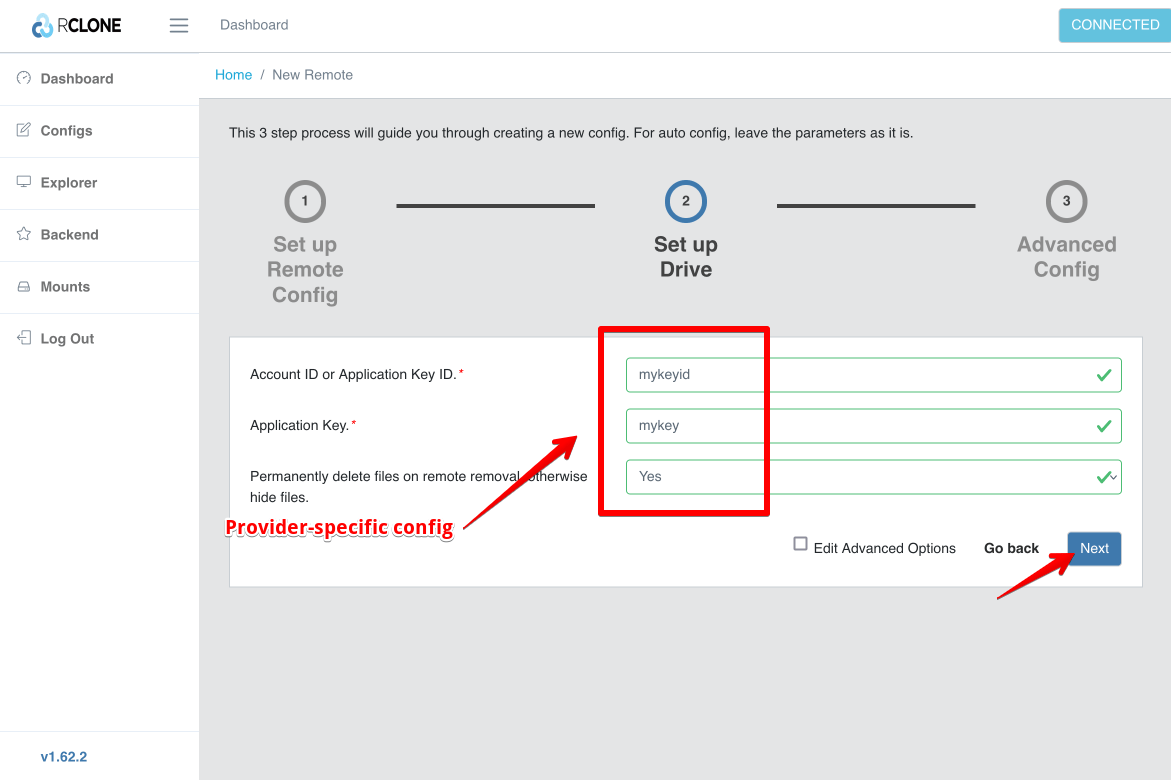
Create a new config for your provider. Name your remote (can be anything), and choose your provider type:
Enter your provider-specific details. Refer to the rclone docs for help:
RcloneUI will automatically take you to the "Explorer" window. Type the name of your new remote, and click "Open" to test that it's working correctly.
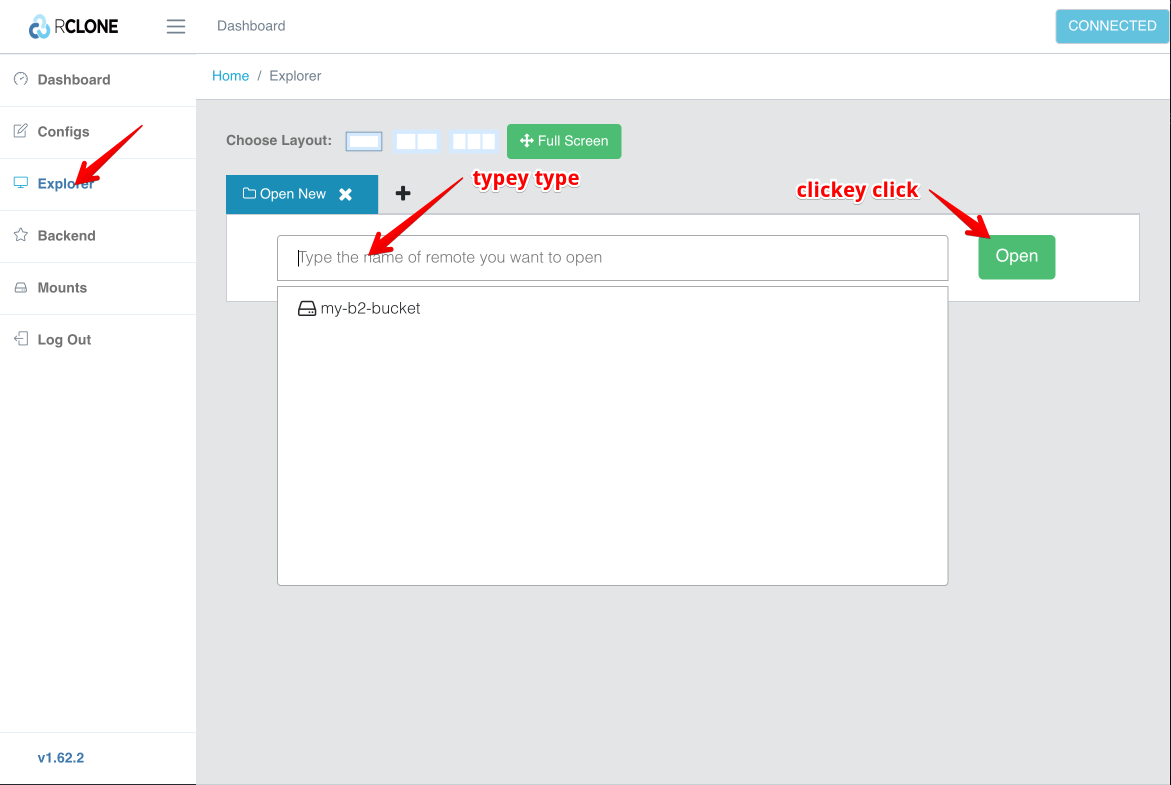
If you can see your files, it's setup! If not, go back to "Configs" and edit it until you can see your files.
Now add a second remote, pointing to the local (to your ElfHosted apps) folder you want to copy to/from:
Setup alias remote (Rclone UI)
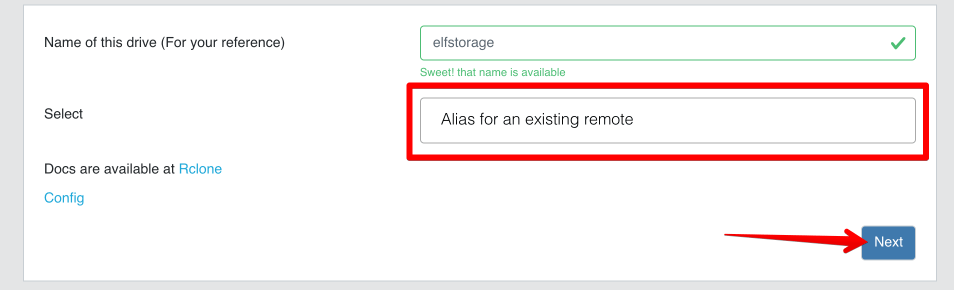
Rclone thinks about all transfers requiring a source and destination "remote". Even transfers to local folders, so we another remote to represent our local storage. (one per-mounted volume)
Go back to configs, and add another configuration:

Name the remote something appropriate, and add it as a type "Alias for an existing remote":
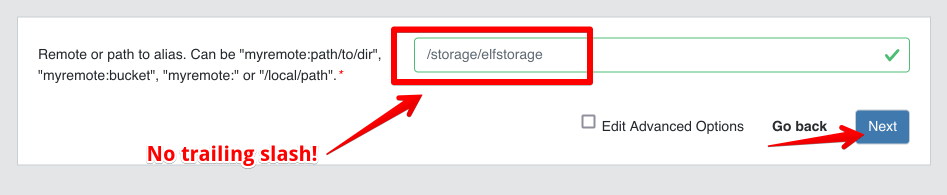
When prompted for a remote path, enter the path to the storage, starting with /storage, for example, [ElfStorage][elfstorage] storage will be mounted at /storage/elfstorage.
No trailing slash
Do not include a trailing slash
Transfer files (Rclone UI)
Having saved your alias remote, navigate to the Explorer tab, and choose a 2-column view. In each colum, use the plus sign to add the desired remote:
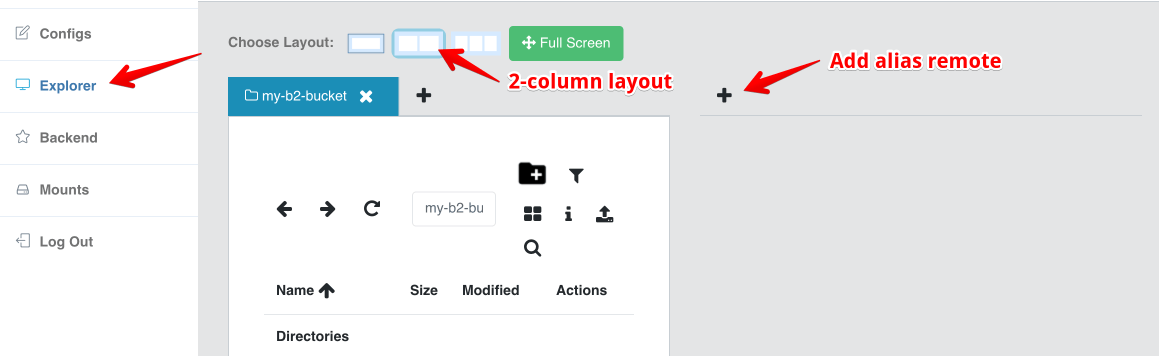
Both remotes will appear. You can use the UI to drag/drop files/folders between remotes to initiate a simple transfer, or read below re using Rclone Browser..

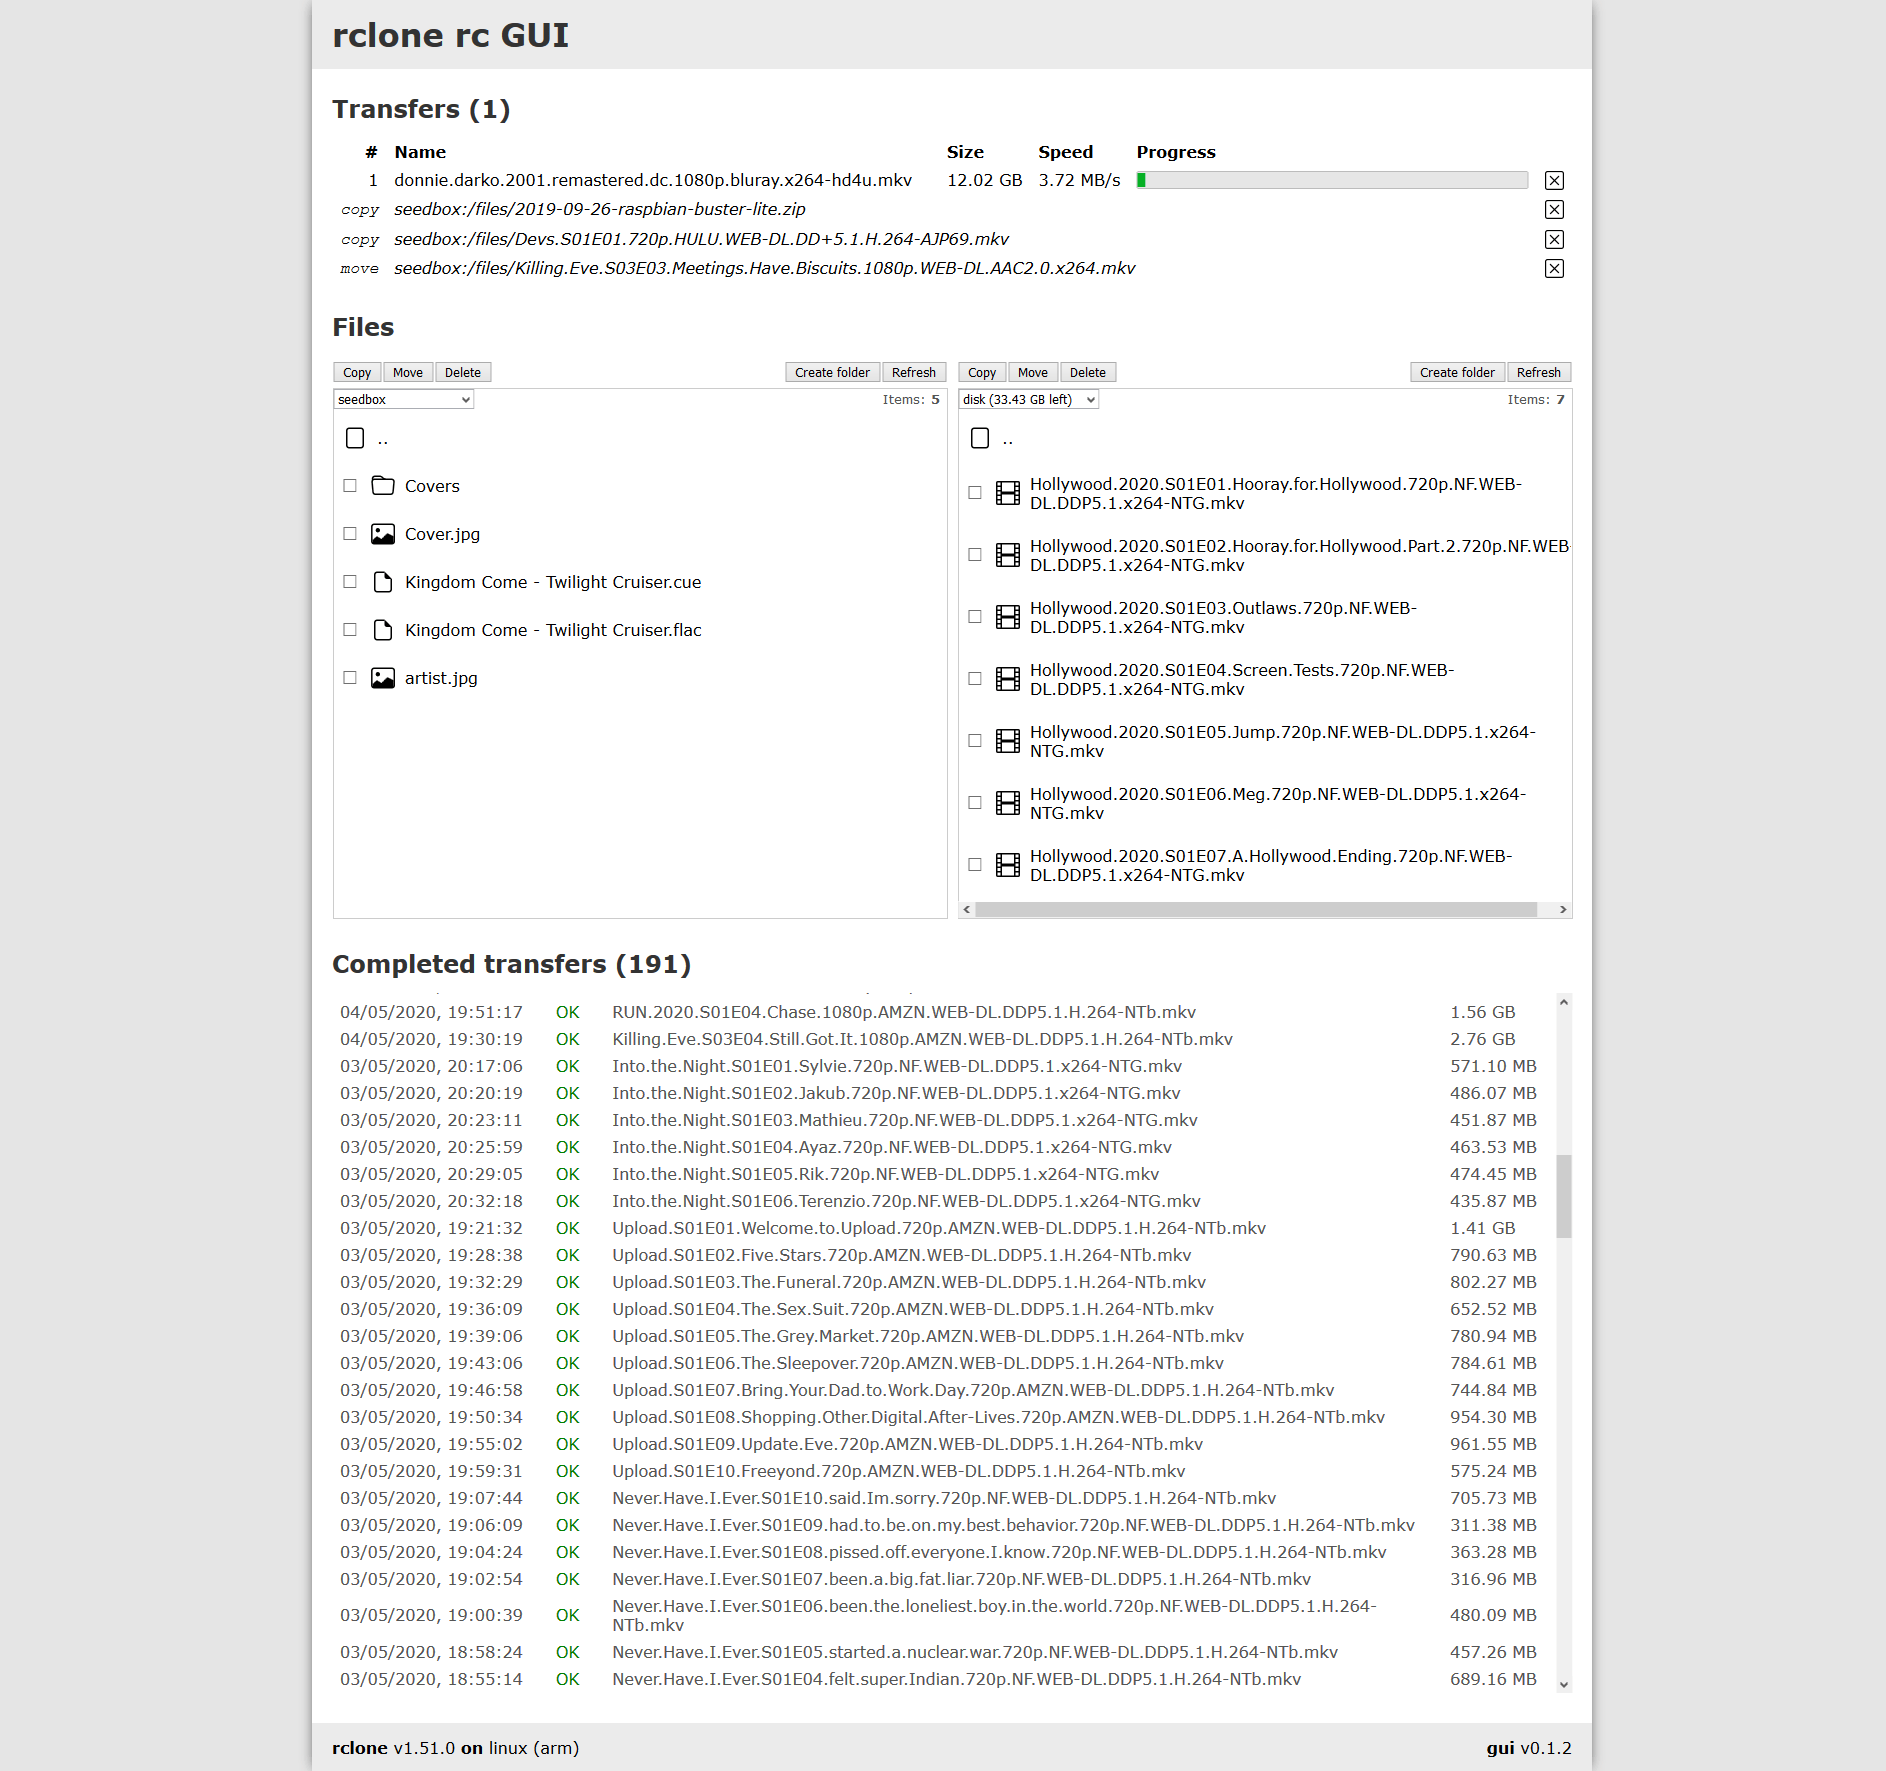
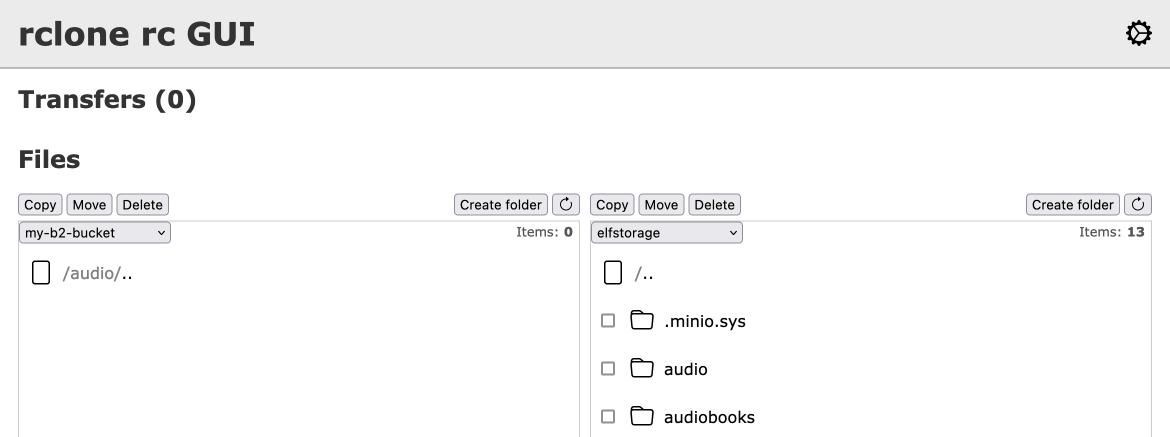
Transfer files (Rclone FM)
Rclone FM is an alternative UI with more advanced features and queuing abilities. Provided you're able to keep your browser tab alive while your queue is being processed, it's a preferrable alternative to Rclone UI.
Launch Using RcloneFM from your dashboard:
You'll see the familiar side-by-side remote view. As above, pick your remotes, and use the copy/move/delete buttons to queue up tasks:
Points to note
The following are important to note re Rclone transfers:
- Transfers are limited to 1 (
--transfer 1), and a maximum bandwidth of 10MB/s, to avoid undue impact on other users or infrastructure. These limits may be arbitrarily changed over time to ensure that rclone migrations can be performed without detrimental impact.